Search This Blog

Tuesday, July 5, 2011

Father's Day Presents!

Howdy!

Quick blog!

So for Father's day for Papaw Kate made a special frame that featured his car:

I printed out a picture of the car on card stock and let Kate color it. Then we pasted the car on cardstock that Kate painted. Then we added her hand print and she wrote "Kate loves Papaw" on it.

What ideas did you guys come up with this year? We need some new ideas for next year!

Tangled Party Braids

Howdy!

So I was asked how I made the smaller braids that were at my daughters' Tangled birthday party and I thought I would post a quick how to.

I got some little flower clips (at Walmart and they come on a pack of 30ish), small elastic bands (also from Walmart), yellow yarn, and purple ribbon.

I measured out 20 "strands" of yarn that were about 2.5 feet long. (I measured off my daughter - you might need to adjust for the height of whoever will be wearing them). I used one of the small elastics to gather them into a ponytail. Next I braided the strands together. After this I hot glued the strands to the back of the flower clips, putting glue around where the rubber band was. Last I added some purple ribbon at the end tied into a bow.

For my daughters' special birthday braid I used about 40 strands, a clip that pinches on one end as the main clip (instead of the flower clip) and then made it the same as the friend braids. After it was braided I took apart 2 fake flowers bundles from Walmart and hot glued the stems to the underside of the braid. I also placed a few of the flower clips from the smaller braids above as decoration for this one.

Happy Braiding!

Wednesday, June 8, 2011

Kate's 3rd Birthday gets Tangled!


Howdy!

So I have to tell you that I LOVE birthdays; I love making a big deal about people on their birthday and letting them know just how thankful I am that they are here. We just celebrated my daughters birthday and I think she had a blast!

My goal for Kate's party this year was to make her so excited that she freaked out. On her 2nd birthday we had a Mickey Mouse party and when she saw the decorations for the first time she ran from decoration to decoration saying "Oh my gosh!" "Oh my goodness!" and "Wow!". I have to tell you - I want to get this reaction from her every year!

This year Kate wanted a Rapunzel Tangled Birthday party. I found a great picture online and made her invites. I wrapped some string around the invite as Rapunzel's hair:

We got her a special birthday outfit: a Rapunzel "3" shirt, a glittery tutu skirt, and a homemade Rapunzel crown.

There weren't a lot of store decorations available for Tangled yet so I decided I would make her decorations. First the party favors: I made Kate a fancy Rapunzel braid clip, I made each little girl that was going to attend a long Rapunzel braid clip, I made each little boy wanted signs to hang around their necks, and I made everyone sticker tags to wear (Saying things like 'My daughter is 3!' or 'My friend is 3!').


I decorated the party rooms with balloons, Wanted posters, banners, and Rapunzel's hair:


Outside was also Tangled in Rapunzel's hair, a Wanted poster, and our door donned a "3" and an extra long braid:


Go Disney (http://adisney.go.com/disneypictures/tangled)had a lot of fun activities for a Tangled birthday party. We made the pascal party blowers but instead of letting a group of 3+ year old completely glue it together I had the body and the blower together and just let them paste on the eyes and draw a smile. I think if I did this again I would have just used construction paper instead of foam.

I also printed the coloring pages from this site onto Color Wonder paper and had a coloring station. There was a 'Rapunzels Paints' station too where the little girls could get their nails painted (with the help of my wonderful niece volunteers!)

The cake table was decorated with a store bought table cloth, napkins, and plates. I made a cupcake tower (instructions on go disney - except I used cupcakes instead of muffins). I also had a HOMEMADE pinata on the table.

The pinata took me a couple hours one night. I found a blog where someone had made one previously (Look for Second Street on Blogspot and find the Minnie Mouse party) and decided to try it out. I just cut 2 circles out of a card board box for the faces of the pinata (I was thinking after the fact that those cardboard cake trays you can buy would have worked great too), cut a few 4 in wide and 5 in long strips from the box too for the width of the pinata and lightly taped things together. The strips are made pliable by bending them into a circle.

I left a big opening at the top to dump candy in (which I later covered with a single piece of tissue paper).

I then grabbed some tissue paper and covered the base in it like I was wrapping a present. Next I started fringing some folded sheets of tissue paper it (leaving about an inch of uncut tissue paper on top and fringing the bottom inch)and gluing it onto the the base, layering pink over purple.
Next I used a paper plate and glued it in the center on one side and glued a sign saying "Kate's 3!" on the other side. I then covered the edges of the plate and the edges of the circle base with twisted tissue paper. I hot glued some flowers where the tissue paper pieces met so it looked nicer.

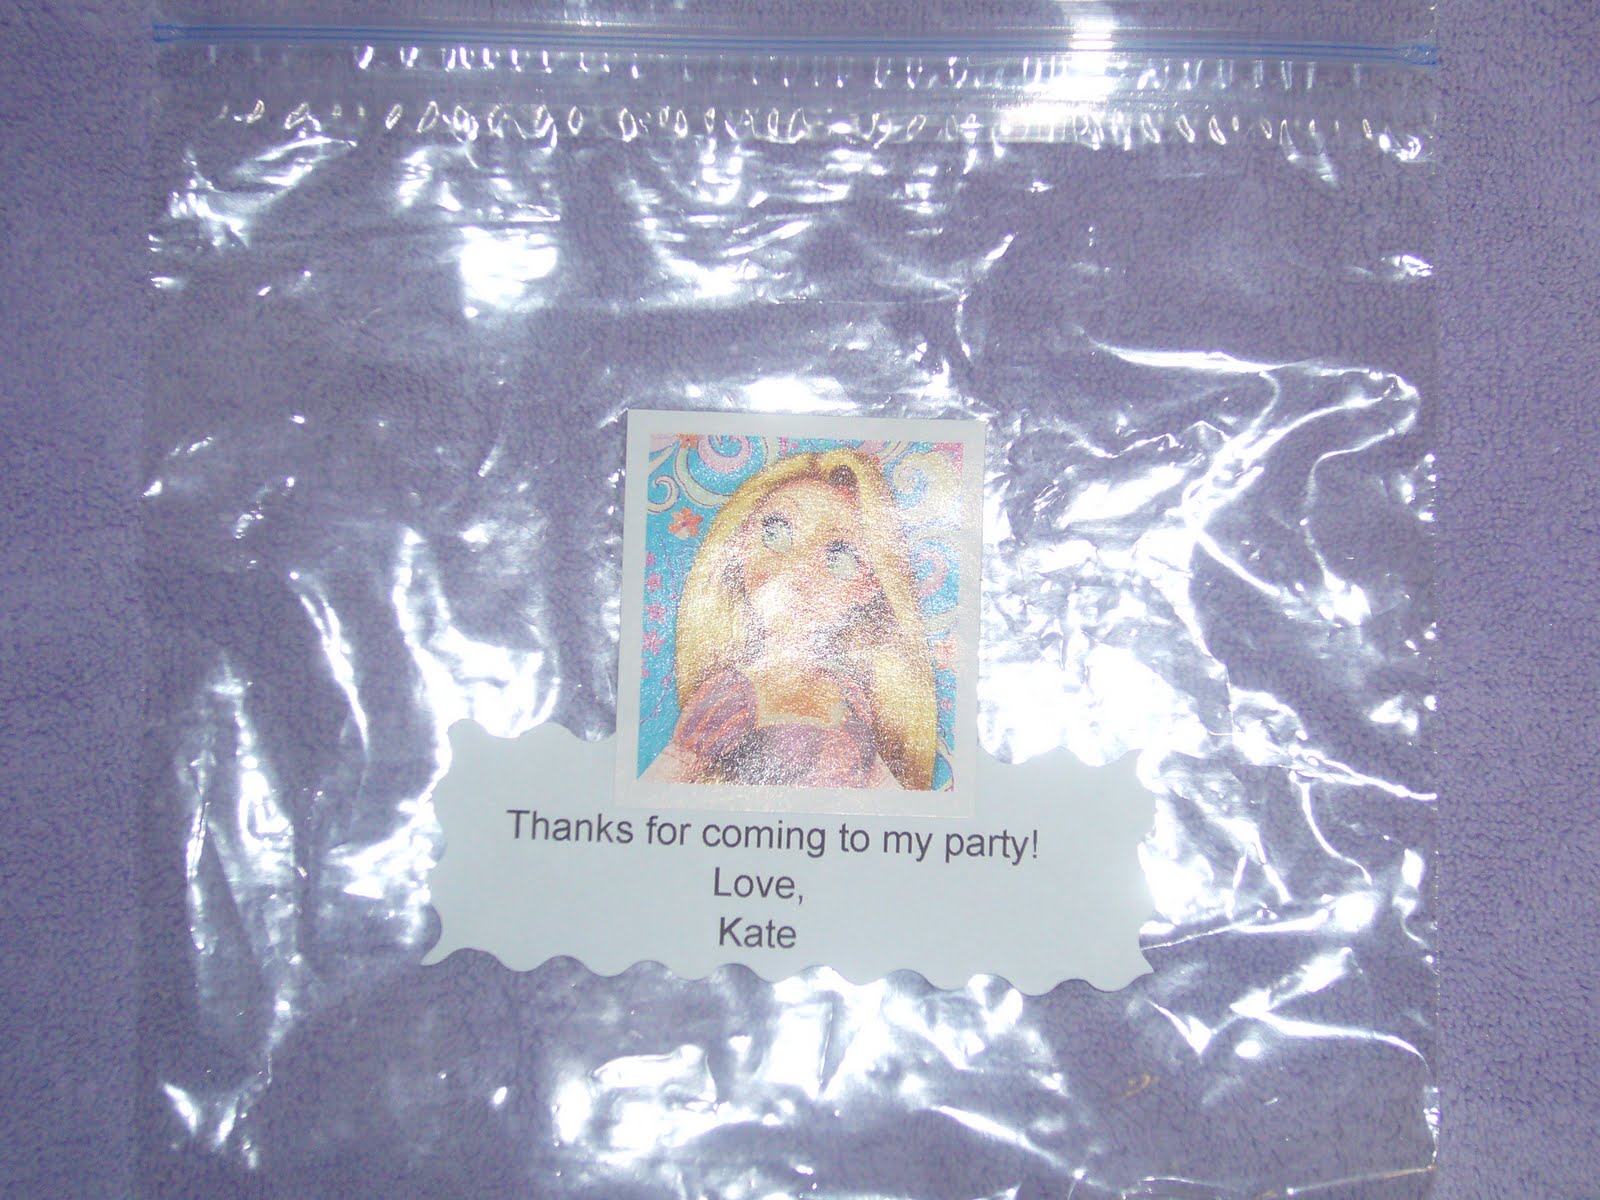
Each kiddo got to keep their braid and they got a cookie bag. We put a sticker and a note saying 'Thanks for coming to my party' on a sandwich bag and filled the bag with a cookie.


Kate helped write the Thank you notes:


So what was the birthday party reaction this year: " Oh that's cool." But my little girl was very excited about celebrating with her family and friends.

Tuesday, May 17, 2011

Mother's Day Gifts!

Howdy! Growing up I loved making presents for my family on birthdays and holidays (even though my brother and sister still laugh at the picture frame I made from an old GI Joe battleship toy) and I loved even more getting homemade presents from my nieces and nephews so Kate and I decided to make presents for her Mamaw and Great Gran this year for mother's day.

We made a 'Great Gran is a Gem' picture frame and a 'Mamaw Rocks' picture frame. We used new in their wrapper picture frames we got at our local thrift store, spray paint, "gems", and rocks. Kate picked out the color we painted each frame and then helped me hot glue the gems and rocks onto them. I was concerned Kate would get burned by the hot glue but she was pretty careful. Kate also made a painting to go inside each frame with a thumbprint flower in the center.


I think Kate had a good time making these and my mother-in-law was very excited about her frame!

Thursday, April 21, 2011

Bethany's 'About to Pop' Shower

Howdy! I recently planned a baby shower with some friends and loved the theme. The theme was 'She's about to Pop' which my friend Kelly came up with (she's so creative) and the colors used were purple and white. The biggest thing was the food table: we had cake pops (sooo good), dum dum pops, tootsie pops, pop tarts, purple popcorn, and purple pop punch. We had a 'Welcome Baby' sign and an 'About to Pop' party intro on the door. We also set up a clothesline with paper onesies that had pop themes and had pop circles/pop diaper decorations around the house.


After all was said and done, I think it was a success and I hope our mom-to-be Bethany enjoyed it!

Thursday, March 31, 2011

Jungle Monkey Diaper Gift


Howdy! So this weekend is a ladies retreat at my church - the first one I have ever been to - and among the fun things we have planned is a silent auction. The silent auction proceeds go to benefit the Rachel Gage and Michael Ramette Memorial at Lake Texohma which I hear is going to be a nice covered area for people to gather around created by our teens at church. The items for the auction are donated items from church and communtiy members and I definetly wanted to contribute something. Since I have been dabbling in making creative diaper gifts (Find me on etsy.com and Facebook as 'CraftsandCause') I thought I would make something for the auction. At first I was going to donate a pink giraffe cake but after bouncing the idea off a few people I came up with a few guidelines: (1) The diaper gift should be something that was not definititvely girl or boy oriented, and (2) was something that was medium sized as if it was too big it might be too expensive or too large for one to give to someone, other than family, as a gift.

I have been on the lookout lately for cute containers and Target has some that I love right now - they have cute colored metal buckets. Also while I was looking around the floral department of Tom Thumb I found some 'Love Monkey' dolls that were really cute and super afforable. So the items that I used for this craft are ribbon, tissue paper, felt, 35 size 1 diapers, shredded paper, yarn, cardboard, cellophane, the 'Love Monkey' doll, and the metal buckets.

I started thinking - how could I arrange the diapers to make a unique theme with the monkey doll - and then it hit me; my theme would be 'Jungle Monkey'. So I arranged the diapers in the shape of a tree and oriented the monkey around them. For those of you attending the retreat as well, above is a sneak preview and for everyone else above is the web debut.

Intro Blog


Howdy! In my first official blog I thought I would share the latest crafts my daughter and I have made - handprint/footprint paintings! I bought some canvases from a craft store on sale a while back and have been waiting for a good opportunity to use them. Well the time finally came - my in-laws came into town for a visit and enjoyed some grandaughter time (so my husband and I could have a couple of date nights) and my sisters' birthday came around!

Our first project was for my in-laws. I gave my daughter a 5x5 canvases, let her pick her washable paint colors, and let her paint to her hearts content! After her canvas dried we painted her feet with white paint and stamped them onto the canvas in a turnout. My goal was to make a definitive heart shape so after we stamped her feet we got out some thin red ribbon and glued it around her feet in a heart shape using Modpodge. For a 2 year old being patient while we slowly put on the red ribbon was hard but she was so excited about the project she did a good job. Once the feet paint and glue dried Kate picked some ribbon and we hot glued a "hanger" onto the back of the painting. My daughter is pretty good at writing her name once you dot it out so we wrote a note and put it in the mail.

Exited about our new canvas paintings we decided to make a painting for my sisters' birthday. Again I gave my daughetr a canvas (a different shaped one), let her pick her paint colors and go! After she declared her painting "done!" we let it dry and talked about what we would do to it next. We were going to paint her hands and place them onto the painting to shape in a flower shape. I painted a circle, painted Kate's hands with a color she picked and then started stamping her hands around the circle. Then we chose a different color and stamped some outer "petals" of her flower. Same as before, once everything dried we added a ribbon hanger and a note on the back. I thought this turned out so cute I wanted ot make one to keep at our house so we started again and my daughter chose different paint colors.

Overall this was fun to do with my daughter - I enjoyed watching her get crazy with the paints, watching her giggle as I painted her feet, and teaching her good ways to show our love for others.